Photos
Take a photo of an item with your phone's camera, or choose a picture from a file. Which pictures work, how many an item holds, the first photo, and deleting one.
A photo on an item helps a tech pick the right part off the shelf. The photo shows on the item screen, in lists and on the scanner sheet.
What you'll need#
- A manager or owner role. Photos are added on the Edit item screen, and only managers and owners can open it. A tech can see an item's photos but not add them. A tech who wants a photo on an item asks a manager. See Roles and permissions.
- A signal. The edit screen needs a connection (see "No signal" below).
- A phone with a camera, or a picture file on your phone or computer. If your phone asks to use the camera, allow it.
Steps#
Take a photo of an item, or choose a picture from a file#
- Open the item and tap Edit at the top right of its photo. If the item has no photo, the box says No photo yet.
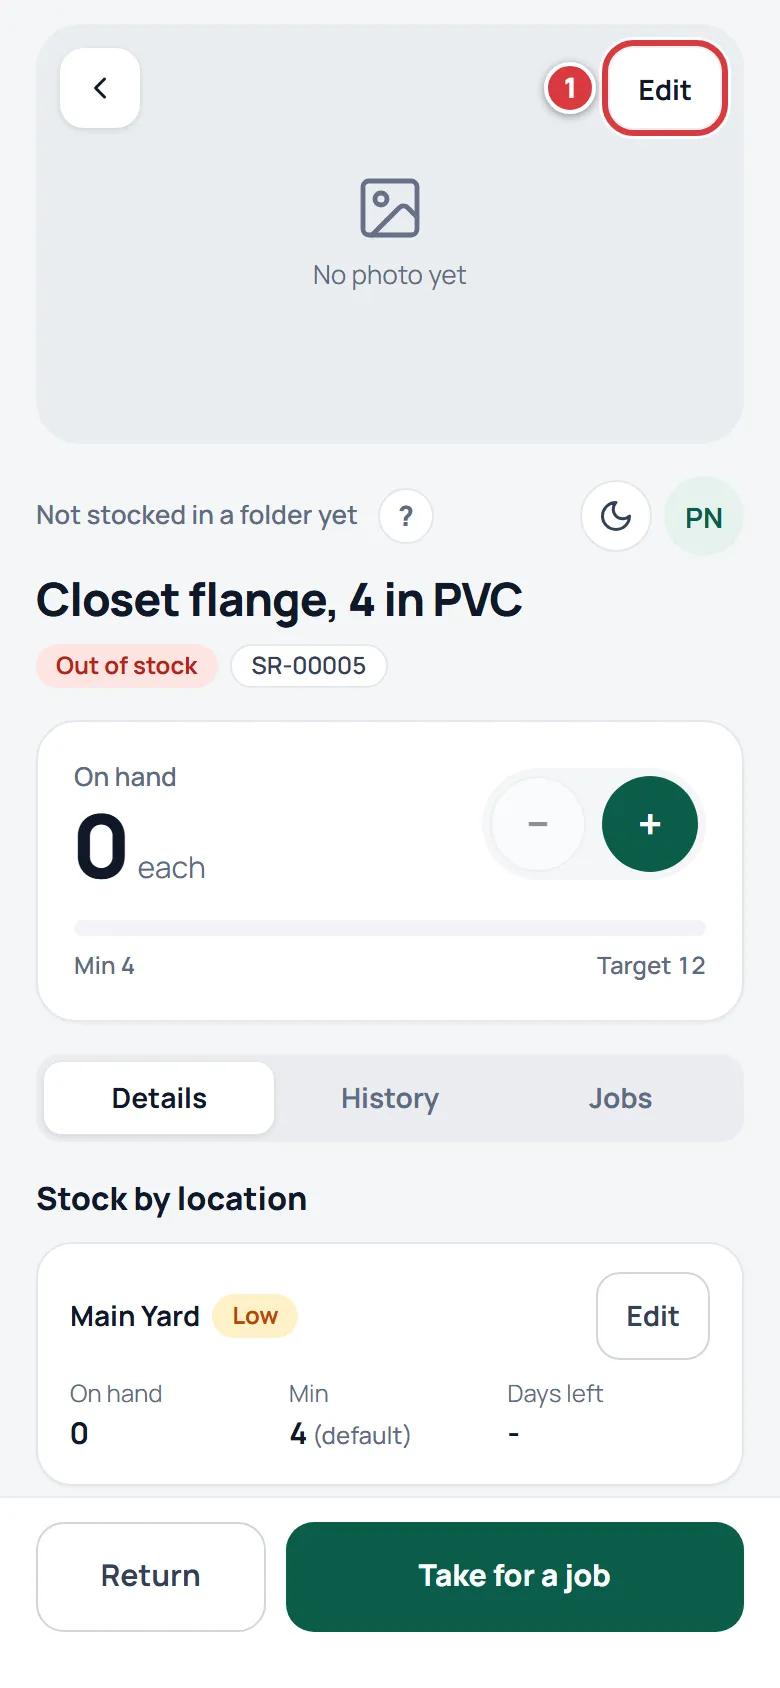
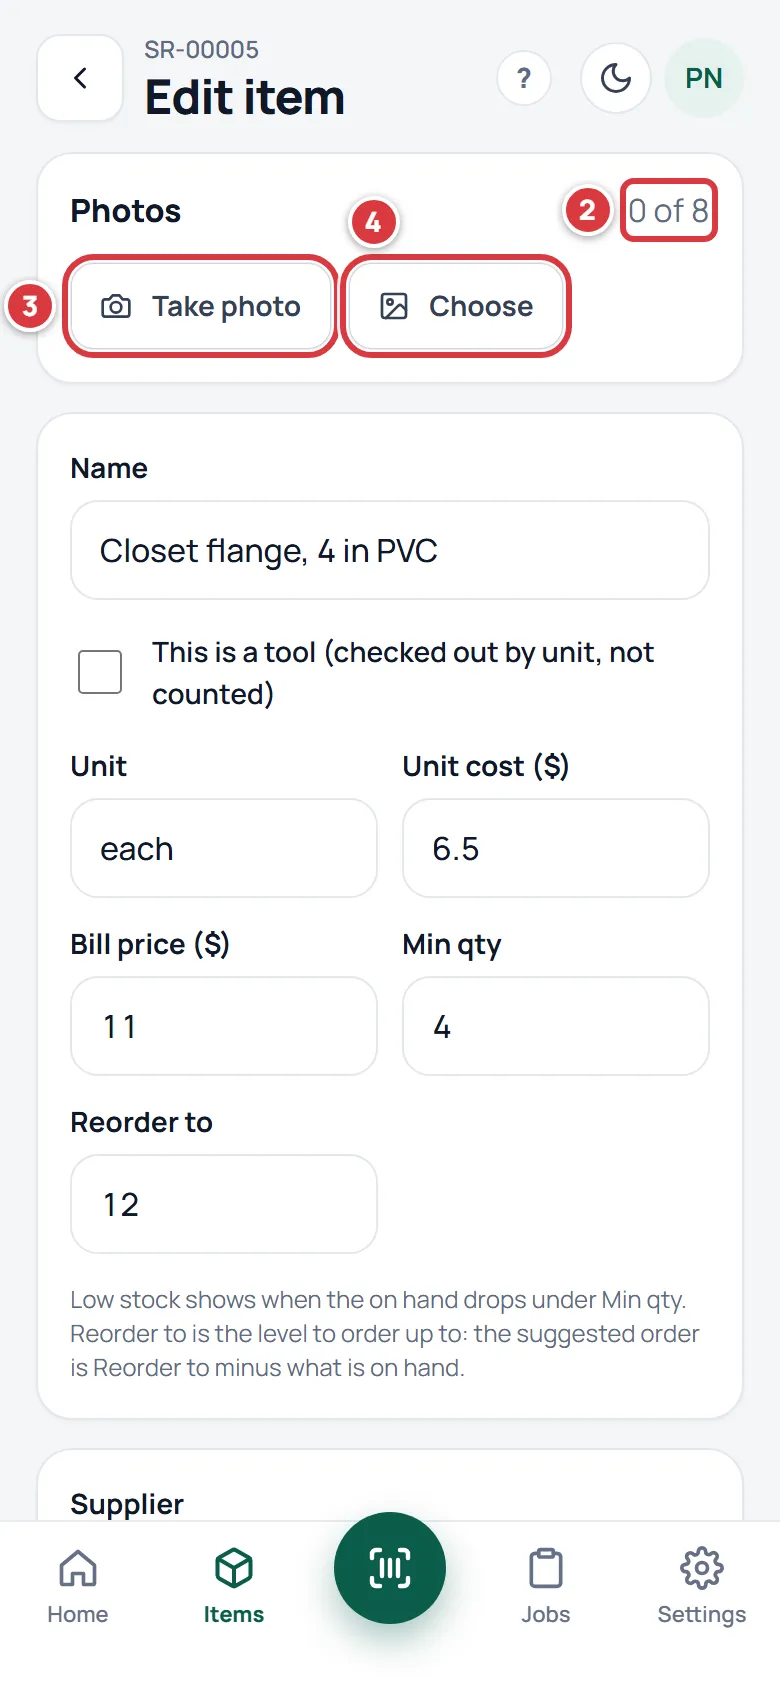
- Find Photos at the top of the edit screen. It shows how many photos the item has, like "0 of 8".
- To use the camera, tap Take photo. Your phone's camera opens. Take the picture and accept it.
- To use a picture that is already on your phone or computer, tap Choose instead. You can pick more than one.
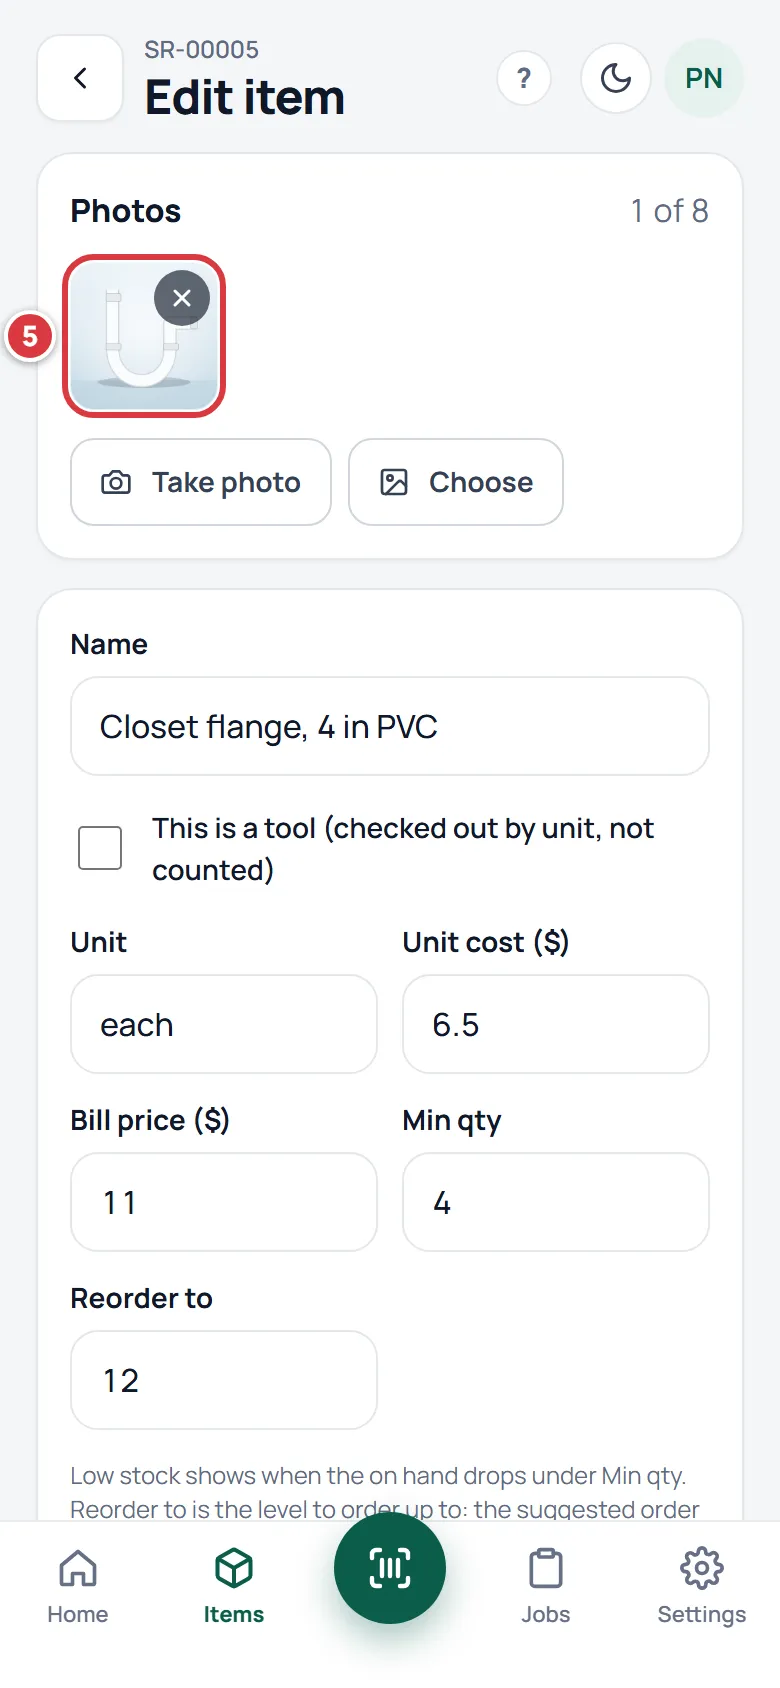
- Wait a moment while Working… shows. The photo appears as a small square and the count goes up. It is saved as soon as it appears. You don't need to tap Save changes for the photo.
On a computer, Take photo may open a file picker instead of a camera.
Replace a photo or change the first photo#
You can't edit a photo. You add a new one and delete the old one.
- The item has one photo. Add the new photo, then delete the old one. The new photo becomes the first.
- The item has several. Photos stay in the order you added them, and a new one goes to the end. The first photo is the one shown in lists and on the scanner sheet. To make a different photo the first, delete the photos in front of it. You can add the others again afterwards.
Delete a photo#
Managers and owners can delete a photo.
- Open the item and tap Edit.
- On the photo you want to remove, tap the small x in the corner. Its name is Delete photo.
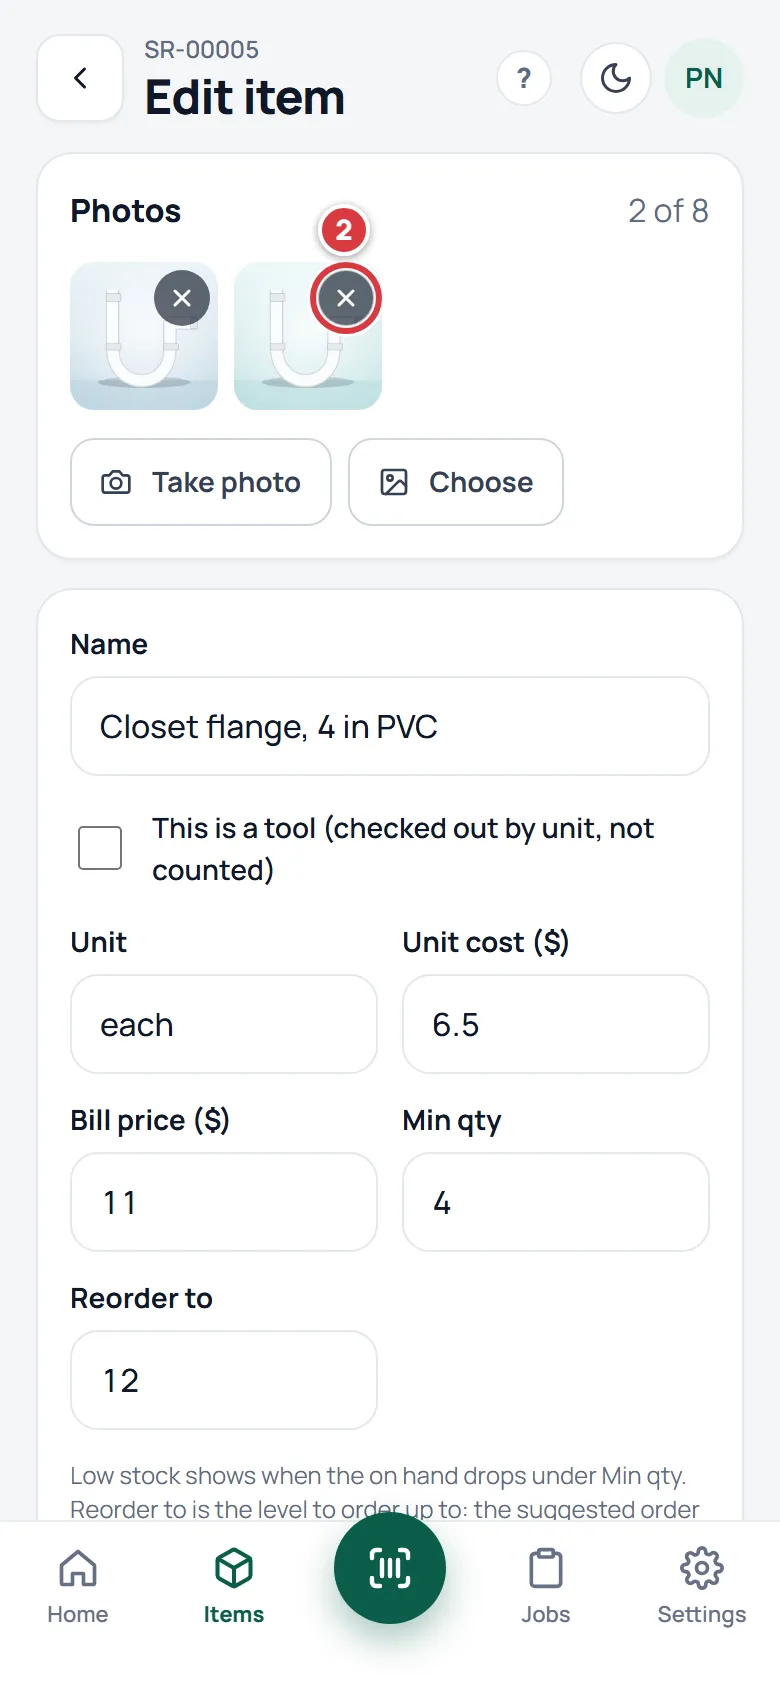
The photo is gone at once. There is no "are you sure", and you can't bring it back. Add it again if you need it.
Add photos to a new item#
You can put the picture on while you add the part. A new item has to exist before a photo can go on it, so the photos upload when you tap Add item.
- Tap Items, then Add item. On a computer, click Inventory in the left menu, then Add item.
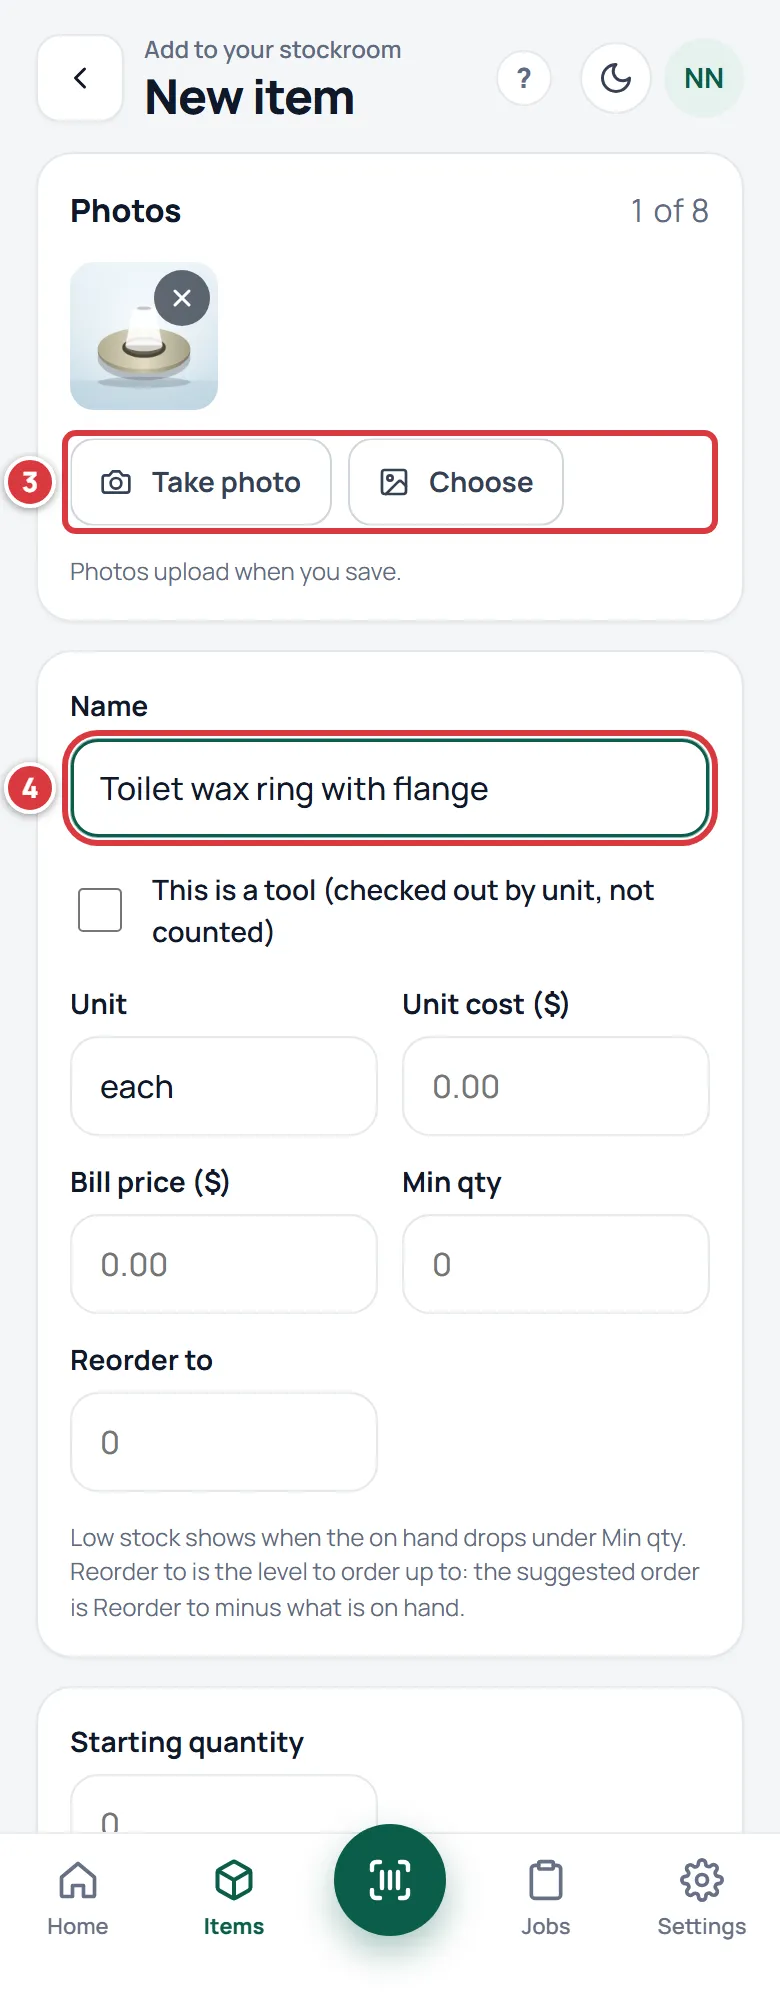
- At the top of New item, find Photos. Tap Take photo to use the camera, or Choose to pick a picture you already have.
- Type the Name, and fill in anything else you know. Items explains every field.
- Tap Add item. The new item opens, and its photos finish uploading as it saves.
What you'll see#
- The photo appears as a square in Photos, and the count goes up, for example "1 of 8".
- On the item screen, the photo fills the top. With more than one, you can swipe, and a counter like "1 / 2" shows which one you are on.
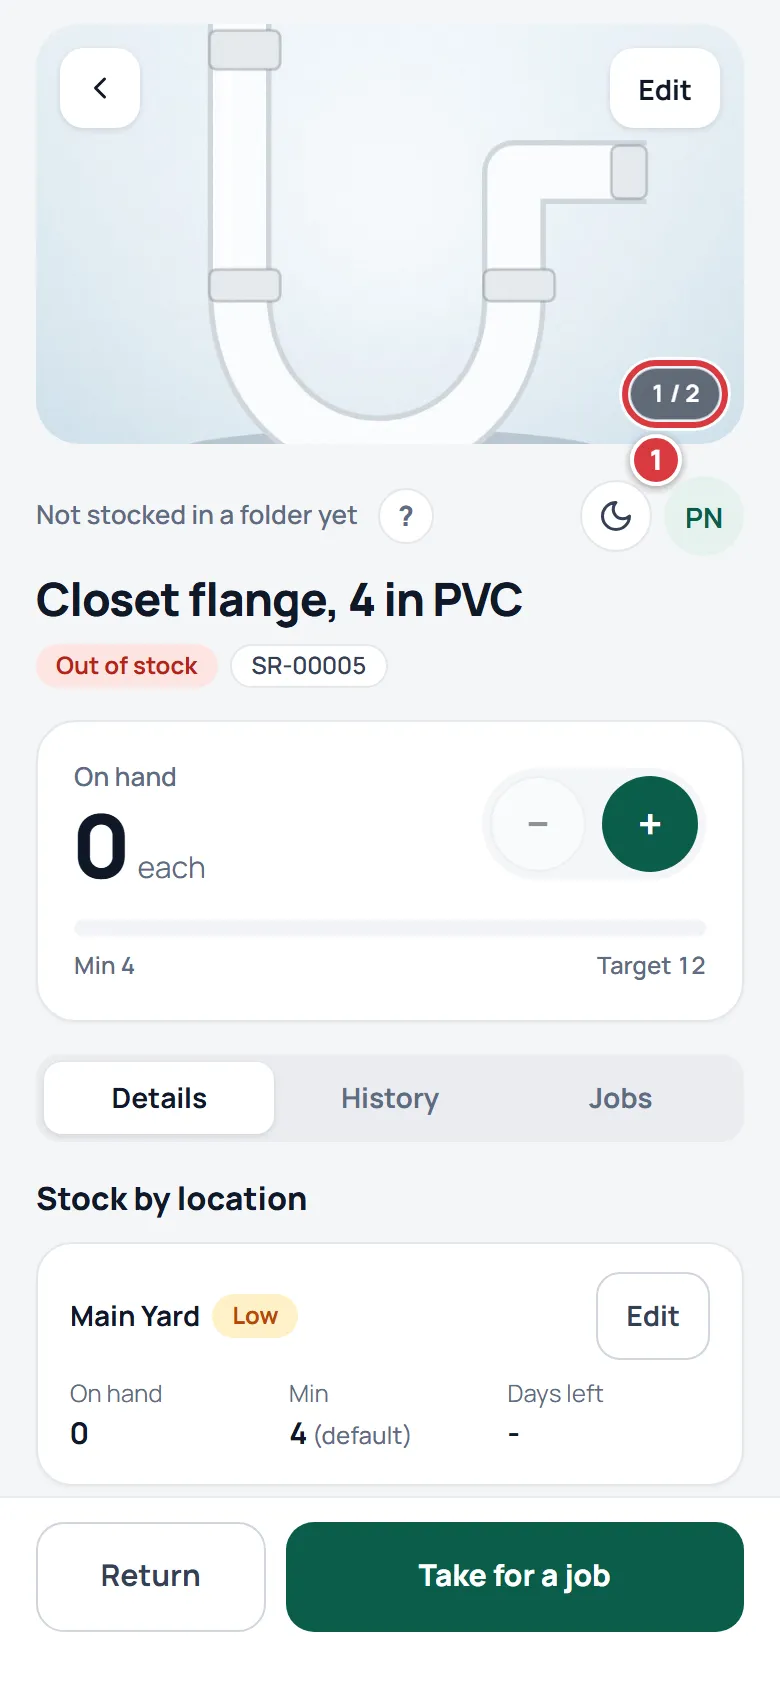
- The first photo shows next to the item in lists and on the scanner sheet.
Which pictures work#
Anything your browser can open as a picture. A9 Stockroom shrinks it to JPEG in your browser before it is sent, so a big picture from a new phone is fine.
- Pictures taken with the phone camera, JPEG, PNG and most other common types work.
- Photos from an iPhone are often HEIC. Safari on an iPhone or iPad opens them, so they work. Many browsers on a computer can't open HEIC. When yours can't, you see "Couldn't upload that photo. Try again." Pick a JPEG or PNG version instead, or take the photo with the phone.
- After shrinking, the longest side is at most 1600 px. A smaller picture is not made bigger.
- Where the picture was taken and which camera took it are removed. Only the picture is kept.
- A single photo can be at most 6 MB. A shrunk photo is far below that, so you are unlikely to hit it.
- An item holds at most 8 photos. When it is full, Take photo and Choose are greyed out. If you pick more files than fit, the screen says "Up to 8 photos per item."
No signal#
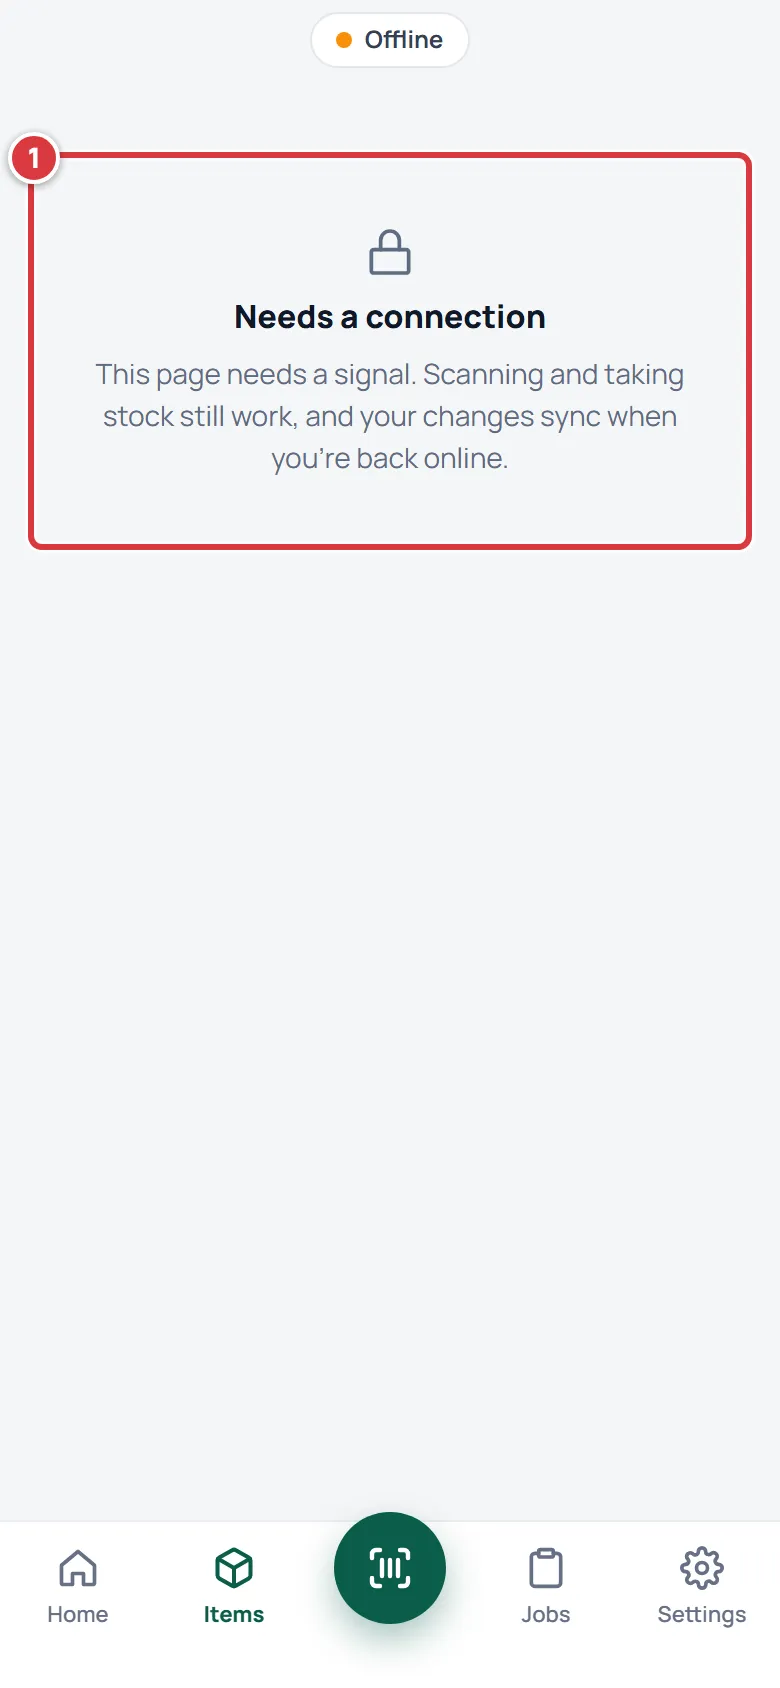
The edit screen needs a connection. With no signal, tapping Edit shows Needs a connection. Get a signal and try again.
The photos you have already seen keep showing. The first photo of each item is saved on your phone as a small copy, so it still shows with no signal. The other photos may not. See Working without signal.
If it didn't work#
- There is no Edit button on the item. Your role is Tech or Viewer. Ask a manager or owner to add the photo.
- "Couldn't upload that photo. Try again." Check your signal and try again. If it still fails, the picture may be a type your browser can't open, like HEIC on a computer. Try a JPEG or PNG, or take the photo from your phone.
- "Up to 8 photos per item." The item is full. Delete a photo you don't need, then add the new one.
- The camera doesn't open. Your phone may be blocking the camera for this site. Allow camera access in your browser's settings for A9 Stockroom, or tap Choose and pick a picture you already took.
- The photo is sideways or upside down. A9 Stockroom turns the picture the way the phone says it was held. If a picture still looks wrong, delete it and take it again with the phone held upright.
- The new photo isn't first. New photos go to the end. See "Replace a photo or change the first photo" above.
- I added photos while making a new item and they are missing. On a new item the photos upload when you tap Add item. If the screen said some didn't upload, open the item, tap Edit and add them again.