Stockroom
Your first week
A day-by-day list for a manager setting up the stockroom. One page to keep on the wall.
Day 1: Set up#
- Open Settings, then Get set up. The five steps tick themselves as you do them.
- Under Company, check the name, the time zone and the word you use for a location. The owner changes these.
- Under Locations, add each place that keeps its own stock.
Day 2: Fill the stockroom#
- Coming from Sortly? Open Import & export, choose the file and read the preview before you press Import. You can undo for 24 hours if nothing has moved.
- Starting fresh? Add folders (a shelf, a bin, a truck), then items. Give each item a minimum.
- Add a photo to the items people look for most.
Day 3: Labels#
- Open Labels, tick items or pick a whole folder, and press Print. Sheets are Avery 5160, 30 labels each. Print at 100%, no margins.
- Stick a label on every shelf, bin and part. Answer Labels printed? with Yes.
Day 4: Your team#
- Open Settings, then Team. Invite each tech with their email, pick the locations they work at, and send. Invites work for 7 days.
- Give every tech the "Your first day" card: a9stockroom.com/docs/print/tech/.
Day 5: Reorder#
- Open Low stock. Check each item's minimum and reorder-to level.
- Create purchase orders from Low stock, print them or download the CSV, and send them to your suppliers. Mark each order sent.
- When a delivery arrives, open the order and receive it.
Every day after#
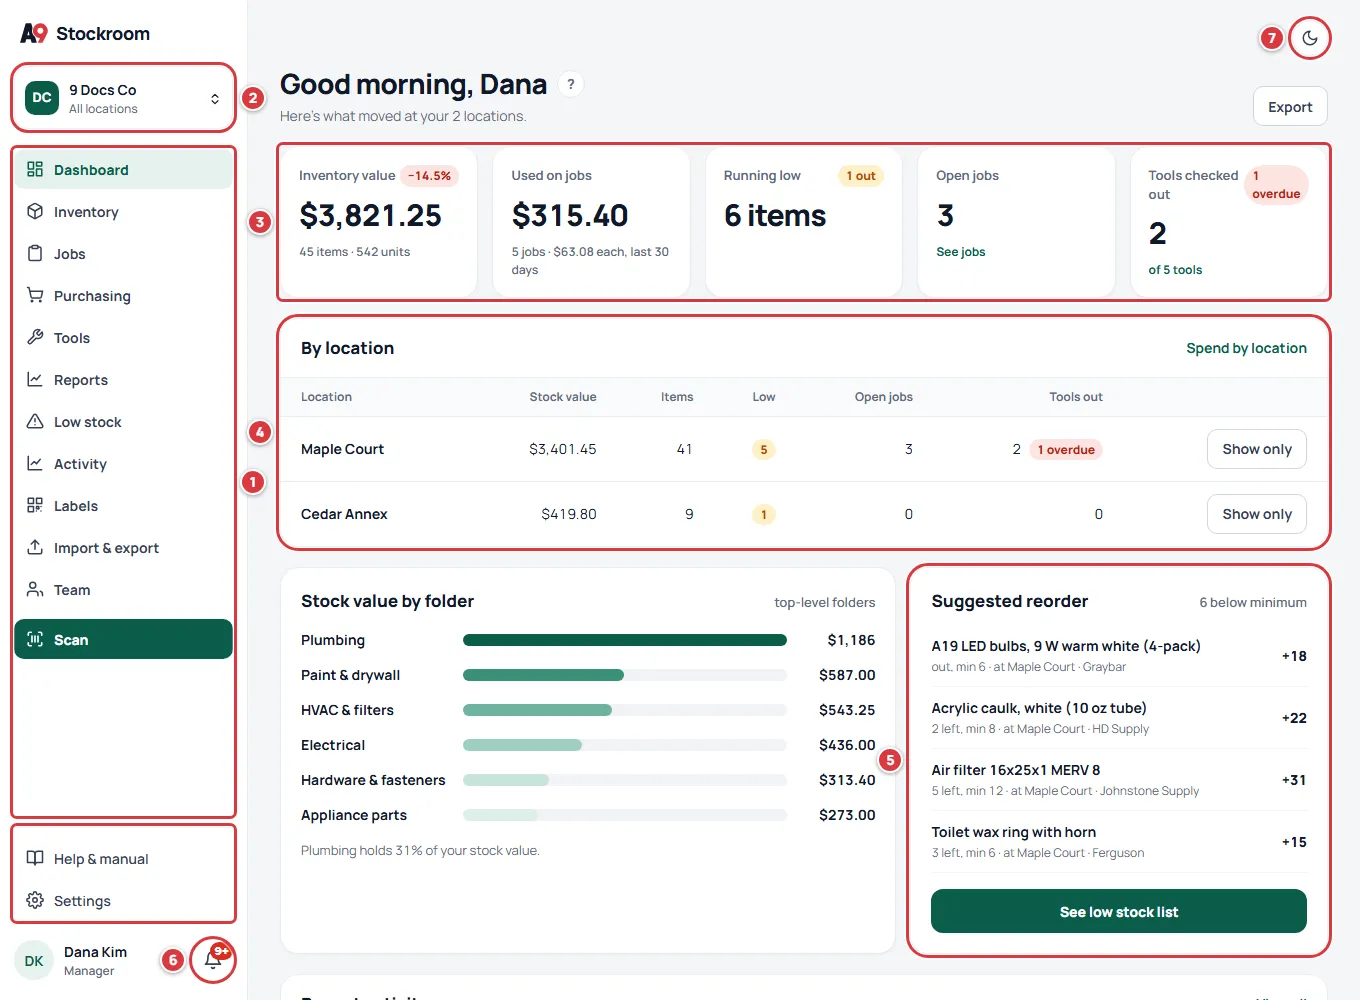
- Glance at Home: Running low, open jobs, overdue tools.
- Watch the daily Low stock email.
- Count a shelf when the number looks wrong.
Search the manual at a9stockroom.com/docs (press /). Still stuck? Write to support@a9stockroom.com.